· react native · 4 min read
How to build Android React Native by expo locally
Instructions on how to configure and build the EAS Build apk file, including steps to create an apk file from eas.json.

Challenges
Expo’s articles on instructions on how to build apk files locally are not detailed step by step, so it will be difficult for those who are just starting to use Expo. In this article, I will provide detailed step-by-step instructions to install and build the apk file.
Steps to set up the environment on Ubuntu
In this article, I use Ubuntu 22.04 as the environment to build apk files. At the present time, expo does not support building apk on Windows, so we can only use Ubuntu to build. You can consider 2 ways to use Ubuntu, the first one is to use WSL, the second one is to create a virtual machine, depending on each person’s hobby, you can choose a different method.
1. Install jdk-17 and other necessary commands
To install jdk-17, use the following commands:
sudo apt-get update
sudo apt-get upgrade
sudo apt install openjdk-17-jdk openjdk-17-jre
After installation is complete, you can try again with the following command to test the result:
java --versionIf you see results like the image below, it means it was successful
openjdk 17.0.11 2024-04-16
OpenJDK Runtime Environment (build 17.0.11+9-Ubuntu-122.04.1)
OpenJDK 64-Bit Server VM (build 17.0.11+9-Ubuntu-122.04.1, mixed mode, sharing)
In addition, we will need to install additional tools such as wget and unzip to perform the following steps:
sudo apt install wget unzip2. Download and install Command line tools

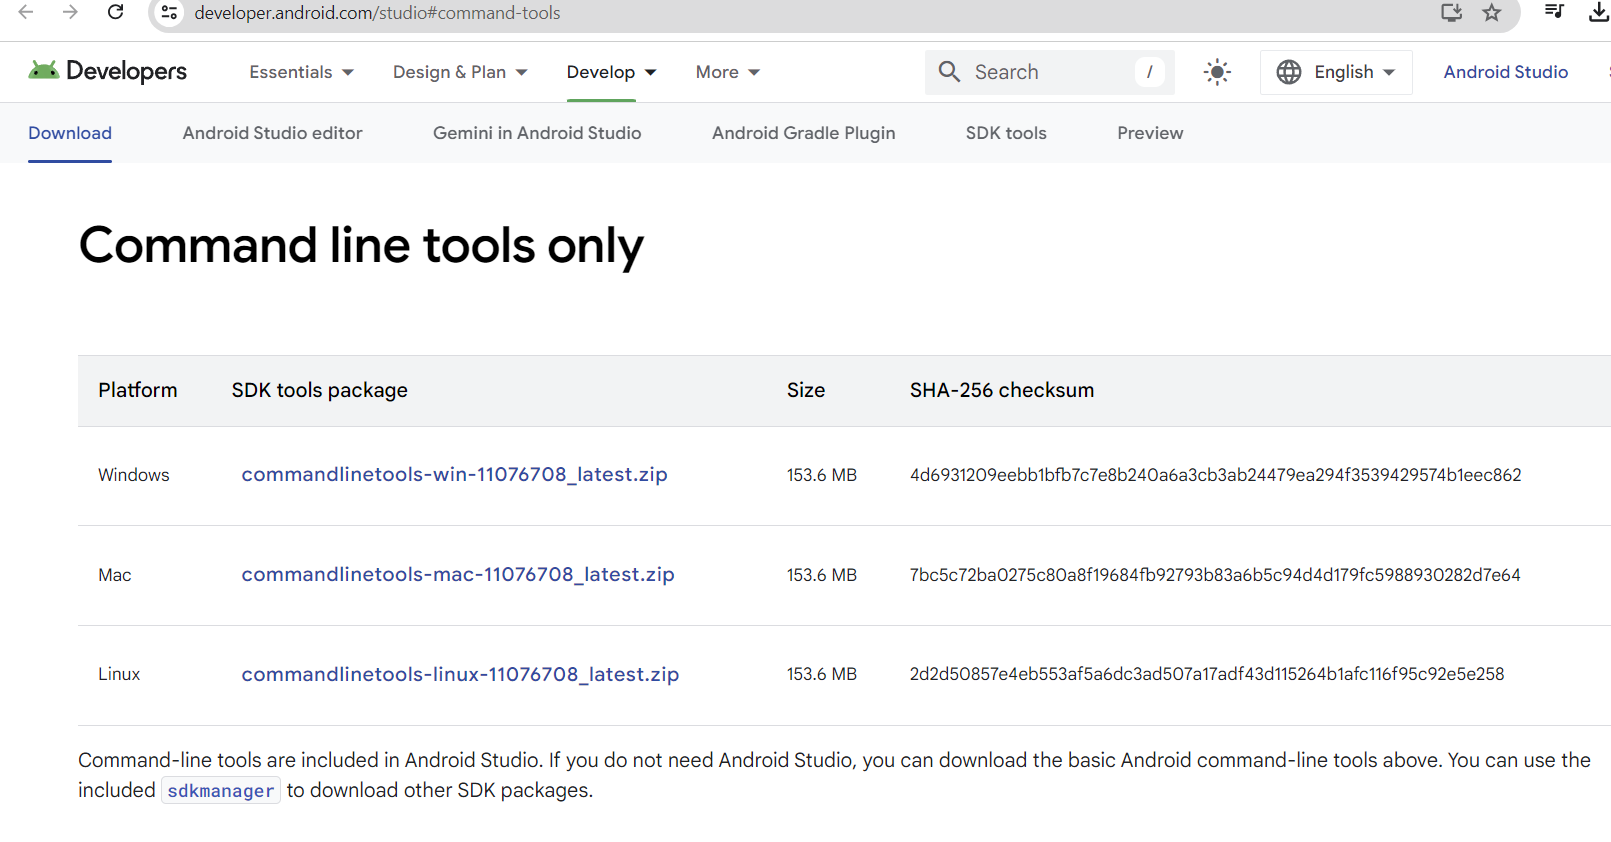
You can download Command line tools at this link. The command below is an example to install command line tools
wget https://dl.google.com/android/repository/commandlinetools-linux-11076708_latest.zipAfter downloading is complete, we will create an Android folder outside the user’s home directory.
mkdir -p ~/Android/Sdk/cmdline-tools
unzip commandlinetools-linux-11076708_latest.zip -d ~/Android/Sdk/cmdline-tools
mv ~/Android/Sdk/cmdline-tools/cmdline-tools ~/Android/Sdk/cmdline-tools/latest
Once installed, we need to set the PATH environment variable for command line tools by editing the file ~/.bashrc or ~/.zshrc. In this file, add the following lines at the end of the file.
export ANDROID_SDK_ROOT=$HOME/Android/Sdk
export PATH=$PATH:$ANDROID_SDK_ROOT/cmdline-tools/latest/bin
export PATH=$PATH:$ANDROID_SDK_ROOT/platform-tools
At this point, you need to restart the terminal and check whether the config was successful or not with the following command:
sdkmanager --versionAfter installation is complete, you can delete the file commandlinetools-linux-11076708_latest.zip with the following command:
rm commandlinetools-linux-11076708_latest.zip3. Install SDK Package
When building the apk file, you will need to download the SDK Package, for example for Android 10, 11, 12. First, you will need to get the list of SDK packages with the following command:
sdkmanager --listThe result will look like below:
system-images;android-34;android-tv;arm64-v8a                                            | 3                 | Android TV ARM 64 v8a System Image
system-images;android-34;android-tv;x86                                                  | 3                 | Android TV Intel x86 Atom System Image
system-images;android-34;aosp_atd;arm64-v8a                                              | 2                 | AOSP ATD ARM 64 v8a System Image
system-images;android-34;aosp_atd;x86_64                                                 | 2                 | AOSP ATD Intel x86_64 Atom System Image
system-images;android-34;default;arm64-v8a                                               | 4                 | ARM 64 v8a System Image
system-images;android-34;default;x86_64                                                  | 4                 | Intel x86_64 Atom System Image
system-images;android-34;google-tv;arm64-v8a                                             | 3                 | Google TV ARM 64 v8a System Image
system-images;android-34;google-tv;x86                                                   | 3                 | Google TV Intel x86 Atom System Image
system-images;android-34;google_apis;arm64-v8a                                           | 13                | Google APIs ARM 64 v8a System Image
system-images;android-34;google_apis;x86_64                                              | 13                | Google APIs Intel x86_64 Atom System Image
system-images;android-34;google_apis_playstore;arm64-v8a                                 | 13                | Google Play ARM 64 v8a System Image
system-images;android-34;google_apis_playstore;x86_64                                    | 13                | Google Play Intel x86_64 Atom System Image
system-images;android-34;google_atd;arm64-v8a                                            | 1                 | Google APIs ATD ARM 64 System Image
system-images;android-34;google_atd;x86_64                                               | 1                 | Google APIs ATD Intel x86_64 Atom System Image
system-images;android-35;google_apis;arm64-v8a                                           | 6                 | Google APIs ARM 64 v8a System Image
system-images;android-35;google_apis;x86_64                                              | 6                 | Google APIs Intel x86_64 Atom System Image
system-images;android-35;google_apis_playstore;arm64-v8a                                 | 6                 | Google Play ARM 64 v8a System Image
system-images;android-35;google_apis_playstore;x86_64                                    | 6                 | Google Play Intel x86_64 Atom System Image
To build expo on Ubuntu, you will need to install the following packages:
sdkmanager --install "platform-tools" "platforms;android-35" "build-tools;35.0.0" "ndk;27.0.11902837"3. Test build on the newly created environment
To test the newly established configurations, we can create a new project from scratch and test build it through the following commands:
npx create-expo-appIn the project directory, we use the following command to build:
eas build --platform android --profile preview --localAfter running the above command, we will have an aab file in the project directory. To build the apk file, change the eas.json file to install the build to the apk file and then perform the build again.
{
  "cli": {
    "version": ">= 10.1.1"
  },
  "build": {
    "development": {
      "developmentClient": true,
      "distribution": "internal"
    },
    "preview": {
      "distribution": "internal",
+     "android": {
+       "buildType": "apk"
+     }
    },
    "production": {}
  },
  "submit": {
    "production": {}
  }
}
eas build --platform android --profile preview --localFinally, we have an apk file for review profile.
Conclusion
In this article, I have shown how to build a React Native application locally on Ubuntu. You can also configure similarly to build on MacOS.